

Businesses in the 21st century need to make the most of email to survive. After all, there’s no easier way to reach hundreds or even thousands of people with comparatively little effort.
But email marketing isn’t easy to get right. You might spend too much time coming up with campaigns, or have no idea how effective your marketing is.
There’s a better way, and Constant Contact can deliver it. Let’s take a look at how this tool can supercharge your company’s email marketing.
What Is Constant Contact?
Constant Contact makes email marketing simple. It starts with simple but professional templates made easier with drag and drop functionality. But that’s just the beginning—the app allows you to upload your email lists and sorts through unsubscribes and inactive accounts on its own.
Depending on your plan, you’ll also enjoy the ability to automatically send messages for birthdays and similar yearly milestones. Real-time tracking tools let you see how effective campaigns are without guessing, and additional features like A/B testing, social media integration, and much more make it a well-rounded package.
Let’s dive into using Constant Contact and see everything it’s capable of.
Getting Started With Constant Contact
Head to the Constant Contact free signup page to get started. You can give the full service a try for 60 days with no credit card sign-up required. Just create an account with your email address, name, and organization.
Once you verify your account through an email sent to you, you’re ready to get started. You’ll see Constant Contact’s main screen, with quick links to its most important features:
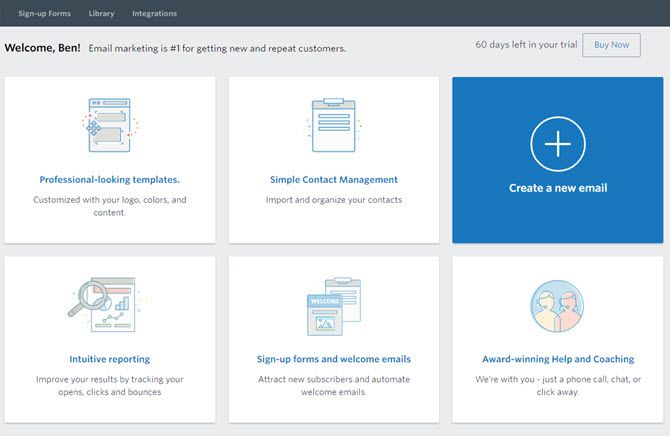
Click Create a new email to jump right into your first campaign. You can also open the Campaigns tab and click Create to start a new one anytime.
Adding Contacts
Before you send an email campaign, you’ll want to upload your contacts so you have someone to send it to! Click the Contacts tab on the top bar to get started.
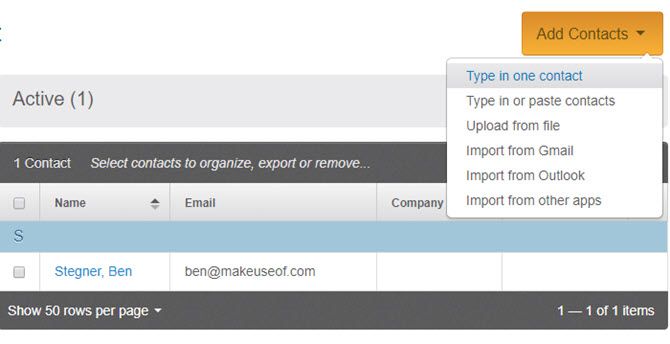
On this page, you’ll see your current contacts library and a yellow Add Contacts button. Clicking this gives you several ways to upload new ones. You can enter single contacts or paste in a list of email addresses if you only have a few.
It’s more efficient to use the Import options to automatically add your contacts from Gmail, Outlook, or other apps. If you don’t want to do this, you can upload a file with your contacts in CSV, XLS, TXT, or similar file formats.
Managing Contacts
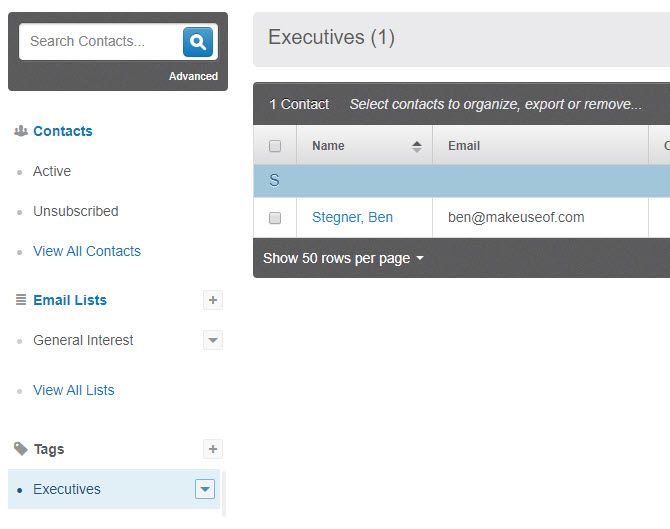
Once you have a library of contacts, you’ll want to organize them into Email Lists. These allow you to target specific groups. For instance, you might have a Family list, a Single list, and other similar groups to divide people by type.
When you create contacts, you must add them to at least one list. You can use General Interest as a catch-all to start, but it’s a good idea to master using lists to keep better track of your contacts. Every campaign goes to at least one list, so make sure you’ve set one up properly beforehand.
Aside from lists, you can also use Tags. These allow you to keep track of different attributes of your contacts outside of lists. For example, you might use tags to keep track of people who live in certain states. Or you could create an Executive tag so you could filter decision-making people across companies easily.
Creating an Email Campaign
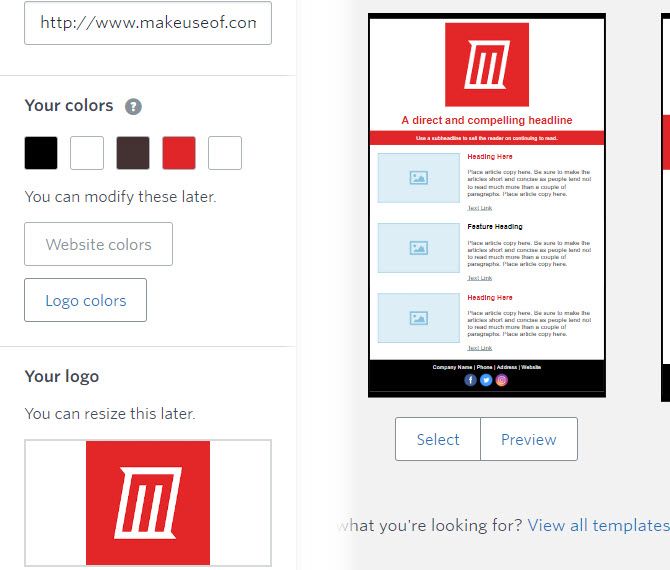
First, you’ll see an offer to create a personalized email template based on your website’s theme. Just enter its URL here to try it, or click No thanks below to use a standard template instead.
After a few moments, Constant Contact will pull your website colors, logo, and even your social media pages from your site. You’ll see a few basic templates for different purposes, including products/services, featured articles, or a single headline.
Choose Select underneath one to customize it, or Preview for a sample on both desktop and mobile. Click View all templates at the bottom of the page to see more options.
From here, you can get started using Constant Contact’s straightforward yet powerful editor.
Editing an Email Template
You can make attractive email campaigns right inside the editor. As you add elements, the existing content will automatically make room for it. And if you add something at the bottom, the email expands accordingly.
On the left side, you’ll see three tabs: Build, Images, and Design. Build lets you drag and drop to add new elements, which we’ll discuss below. Images is where you’ll upload new images and access your photo library. And the Design tab lets you change background colors, font and font properties, colors, and more.
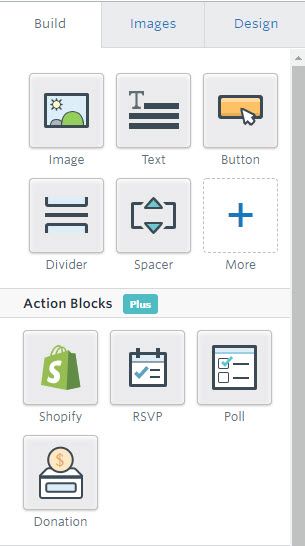
Finally, you’ll find Save and Undo/Redo buttons at the top. Click Preview to see how your campaign looks. When you’re satisfied, choose Continue.
Here’s an overview of each of these functions:
Image
Drag and drop an Image button to, unsurprisingly, add a new picture to your email. As you hover over a spot, you’ll see a purple marker to show its potential place. Once you drop the image card in, you’ll see a placeholder image.
Click that placeholder and choose Edit to pick the actual image that goes there. You can add an image from your library, upload new images, add an image from a URL, or even choose from a selection of free stock images.
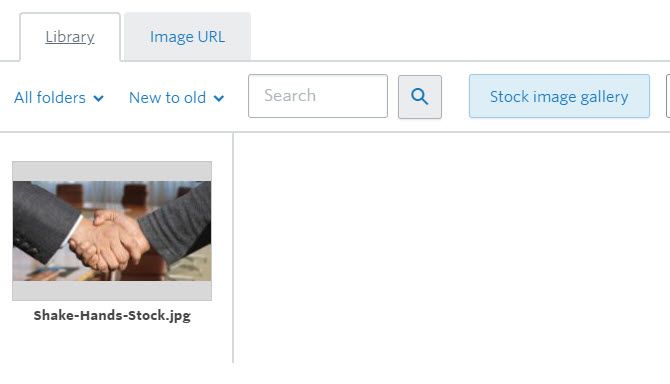
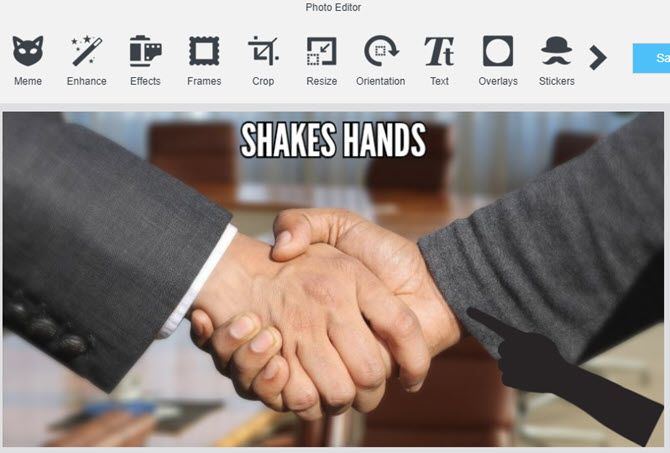
Select the Edit button on any image to add a variety of effects like meme text, basic enhancements, teeth whitening, text overlays, and much more. Click Insert when you’re all done.
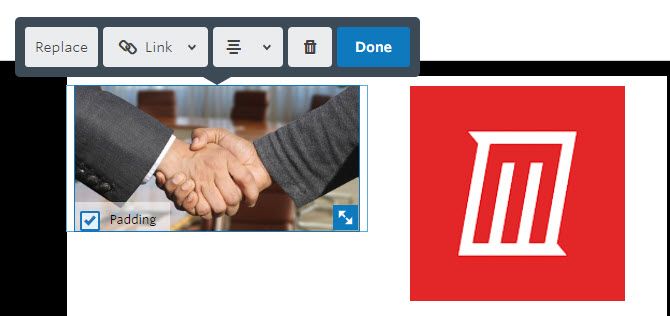
Click an existing image on the page to replace it, change its alignment, modify what it links to, toggle padding, or remove it. You can also resize it with the arrow icon in the bottom-right corner.
Text
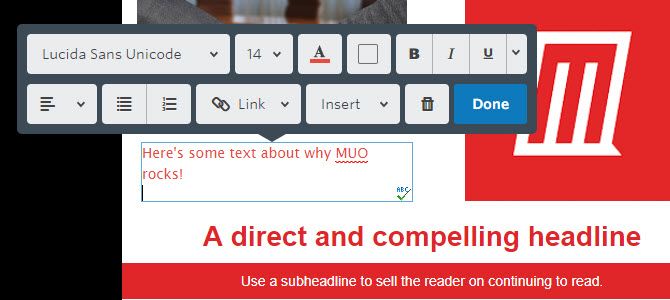
This one is simple–it lets you add a text box to your campaign. Dropping one will add some placeholder text, which you can then click to edit. Inside the box, you’ll also see a toolbar for changing font options, alignment, what the text links to, and more.
Like other elements, you can drag the text around anytime to move it. Deleting text will automatically shrink the box.
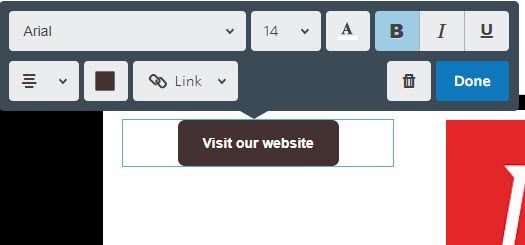
Button
Use this to add a focused button to your email. This comes in handy for linking to your website or other resources, as it commands more attention than an in-text link. Like a text box, you can change the button text’s properties, as well as the button color. Make sure you link to the proper URL!
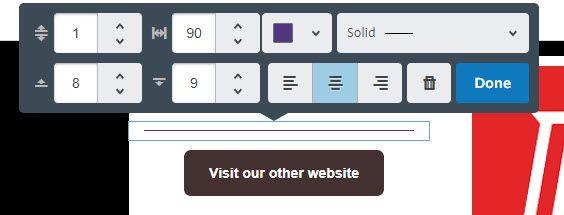
Divider and Spacer
A basic tool for breaking up the content of your email, the Divider option adds a simple line. You can change its thickness, length, padding, and whether it’s dashed or dotted.
Similar to the divider, the Spacer lets you add some blank space. You can also control how much space you add with this tool.
More Building Tools
Under the More option, you’ll find three additional options for adding content.
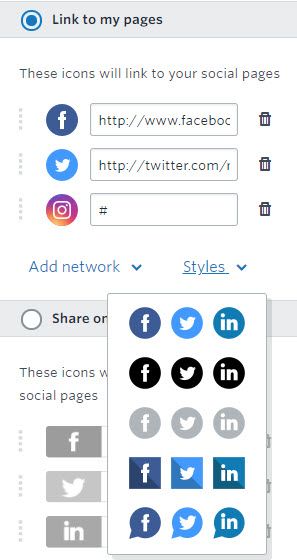
The Social tool lets you add social media buttons for Facebook, Twitter, YouTube, and more. You can choose from a variety of styles and even swap between social links for your company, and links that will share your campaign on readers’ social pages.
Use the Video button to pull in a video from YouTube, Vimeo, or other popular video services. Just drag a card to where you’d like, then click it and choose Edit. Paste the video URL and choose Insert to save it.
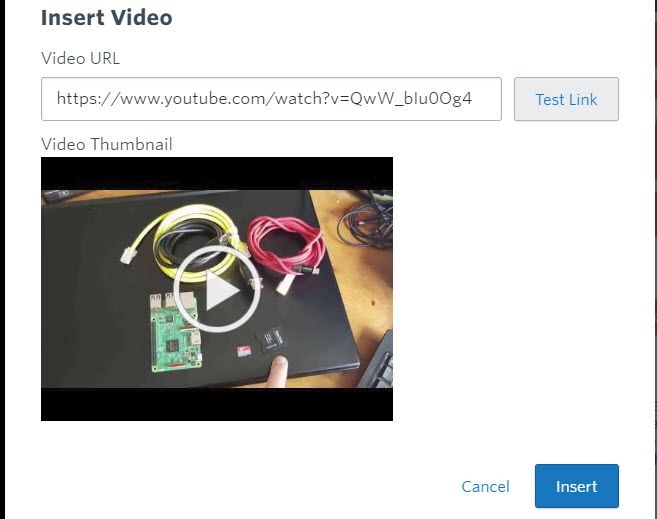
Read More is similar. This lets you add an excerpt to an article anywhere on the web with a featured image and snippet.
Action Blocks and Layouts
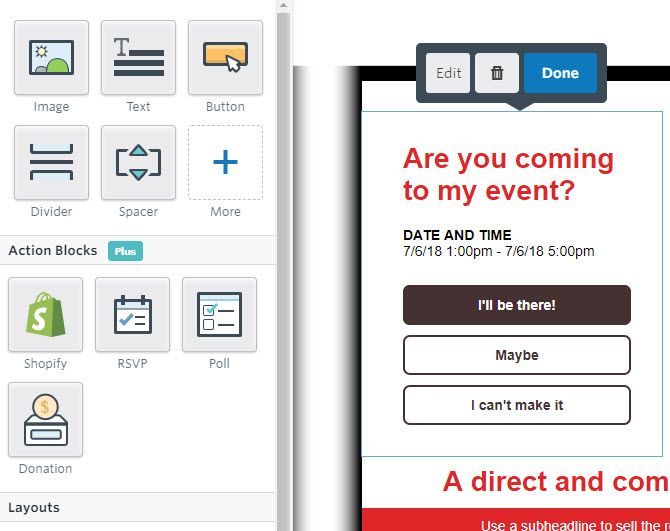
In the Action Blocks section, you’ll find four items that require Constant Contact’s Plus plan (more on that later).
Shopify lets you create a widget in your email to your online store. Use RSVP to get a head count for an event. Poll your readers on whether they liked the email or any other questions. And set up Donations for ongoing campaigns.
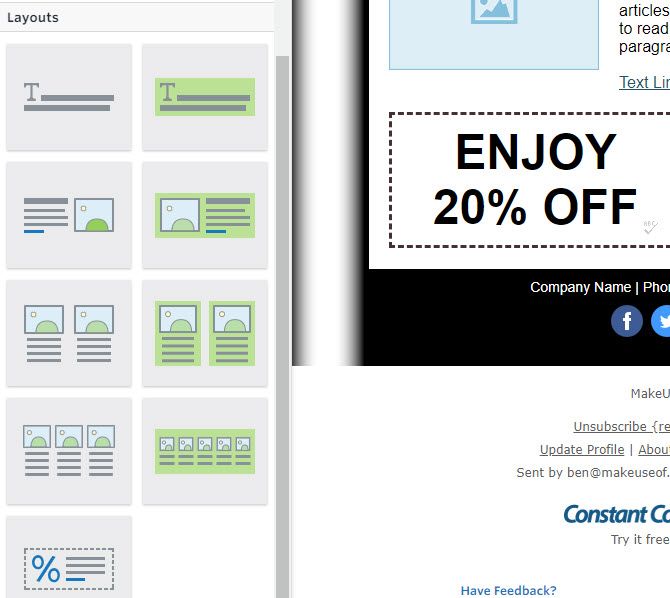
Under the Layouts block, you’ll find several ready-made templates to drag and drop. These include featured article snippets, side-by-side images, discount coupons, and similar. Use them to easily add content in an attractive way.
Design Tab
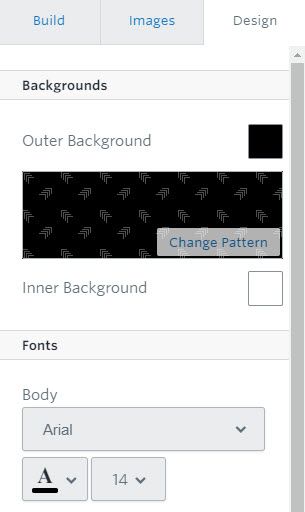
Use the Design tab to change everything else in your message. Choose an Outer Background color and you can even select a pattern. This also lets you change the font options for the entire message, as well as colors.
Other Editing Tools
Click in the box at the top of the page to give your campaign a proper name. Select the From/Reply information above your message to change the From name and email, subject line, and preheader.
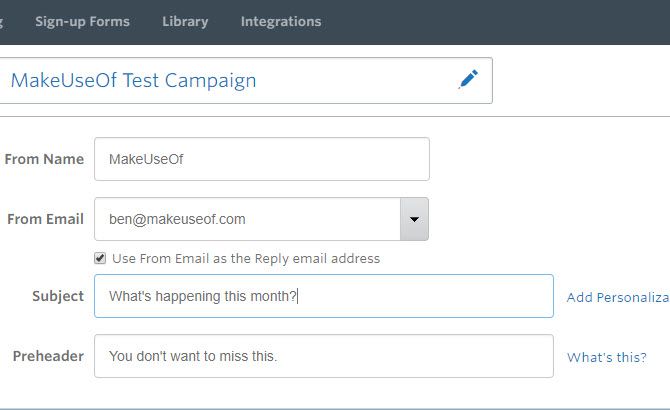
Also, click anywhere in the area below your email to add the address of your organization to the footer.
Sending Your Email Campaign
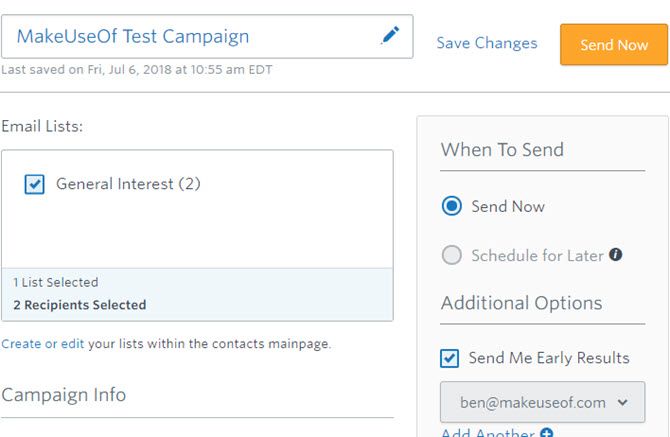
Now it’s time to send out your email. If you didn’t change it on the last page, you’ll want to give your campaign a name at the top. Next, select which of your email lists the message should go to.
In the Campaign Info section, you can set the subject and From Name. Below this, make sure you specify your Physical Address. This is required for many anti-spam laws and helps prove you are a legitimate business. If you have the Plus plan, you can schedule the email to send at a later time and even follow up with users who don’t open it.
Otherwise, you’ll have to send the message now. Click Send Now to get your first campaign out!
Reader Options
At the bottom of every message from Constant Contact, the reader has an Unsubscribe option. This is a simple, one-click affair that doesn’t try to trick the user or waste their time. After unsubscribing, they’ll see a brief poll asking them why they’ve done so. There are no annoying pleas to continue or “waiting periods” to worry about.
When someone unsubscribes, you’ll know they’ve done so through the reporting functions.
Campaign Status and Reporting
Once you send a campaign, you’ll want to know how successful it is. Constant Contact makes it easy to see how many people are opening and interacting with your emails at a glance.
For overall stats, click the Reporting tab at the top. Here you’ll see the subject lines that your audience engaged with the most, as well as whether people are opening on mobile devices or desktops.
Below this, you’ll find trends with various stats like Open Rate, Click Rate, and Bounces. These show how effective your campaigns have been over time. And at the bottom of the page, there’s a spreadsheet with numbers and rates for who clicked through, bounced, and unsubscribed.
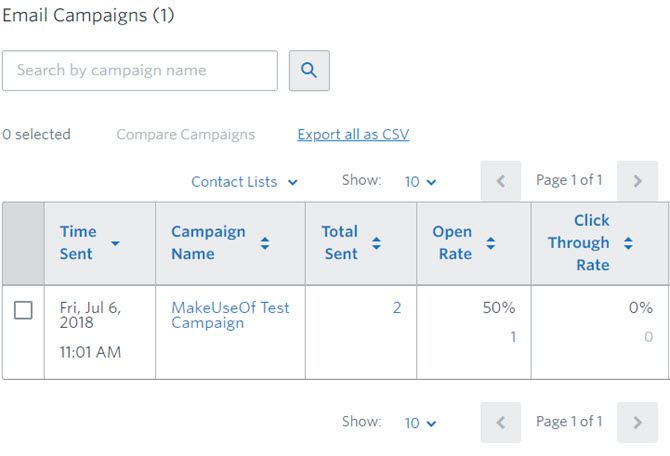
You can also view these by opening a campaign from the Campaigns tab. It will include open and click rates, number of people who didn’t open it, and how many people unsubscribed, or marked the message as spam.
Image Library
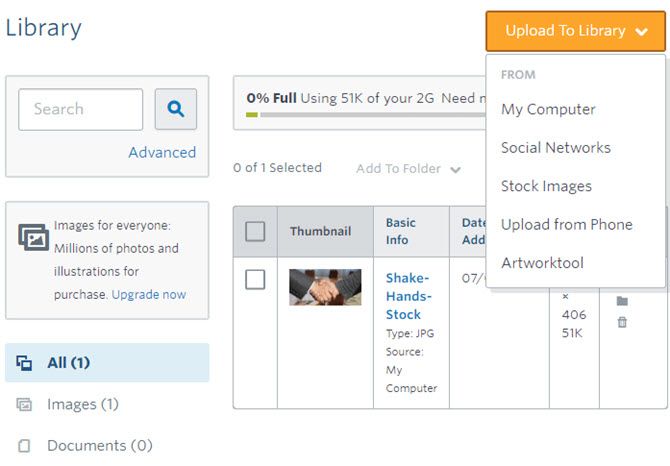
On the Library tab, you’ll see all the images you’ve added to your account. Here you can view images, edit them, sort them into folders, or change their names and alt text. Click the Upload To Library button to add new images.
Options include My Computer, Social Networks, and a selection of free Stock Images. You can also subscribe to a premium stock image service if needed.
Using the Artworktool option, you can create digital artwork images yourself.
Integrations
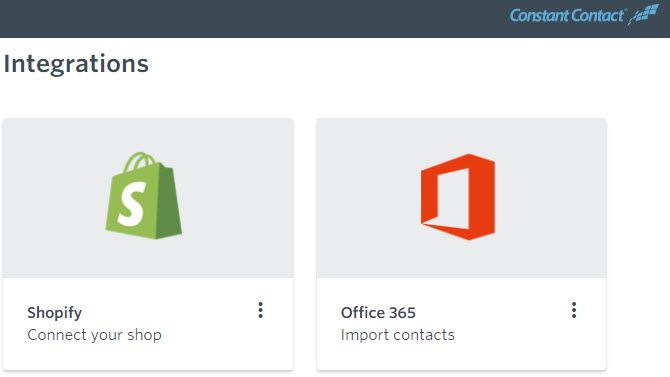
Constant Contact integrates with several other online services for your convenience. You’ll find them all on the Integrations page.
These include Google, Office 365, Quickbooks, Salesforce, and Outlook for importing contacts. As mentioned earlier, you can also connect your Shopify shop. The service also works with WordPress and Facebook to create sign-up forms, a feature available on the Plus plan.
Help and Support
Constant Contact includes great features when you’re having an issue. Click the Help tab in the upper-right anytime to search the knowledge base for helpful tips. You’ll find everything from step-by-step guides to practical pieces on how to craft a subject line or when the best time to send an email is.
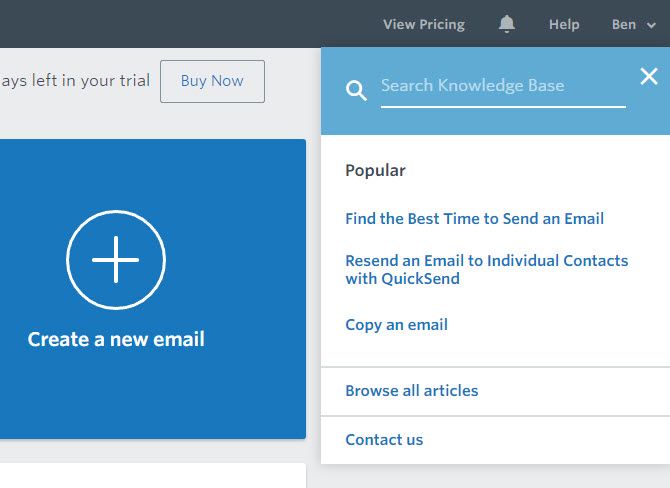
When the support team is online, you’ll see a Let’s chat bubble in the bottom-right. You can use this to connect with someone quickly. For other needs, choose Contact us from the Help drop-down to call Constant Contact, access the Twitter account, or ask the community something.
Plans and Pricing
After your free trial, you’ll need to choose one of Constant Contact’s two plans. Check the Pricing page to view them.
The Email plan, which has all the features described above, is the standard choice. It includes 1GB of file storage and one user account. You’ll also have access to support from real people and a library of learning resources.
Constant Contact’s pricing plans are based on how many email contacts you have. This starts at $ 20/month for a list size of up to 500 contacts and goes up to $ 335/month if you have between 35,001 and 50,000 contacts.
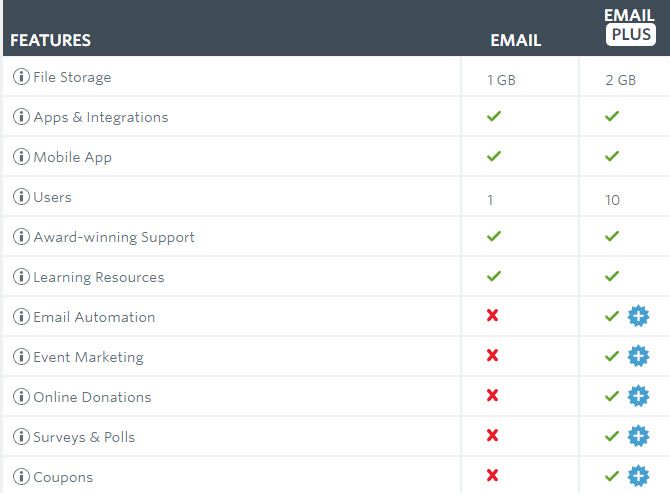
If you upgrade to the Email Plus plan, you’ll get everything in the Email plan and then some. This includes dynamic forms, 2GB of file storage, and up to 10 users on the account.
The Plus plan also packs in Email Automation, which sends automatic messages for events like birthdays and anniversaries to your contacts. We mentioned some of the other Plus-only features above, such as adding donations, surveys, and coupons into your campaigns.
Email Plus starts at $ 45/month for up to 500 contacts. With more than 10,000 contacts, this plan actually costs the same as the Email plan.
On either plan at any tier, you can prepay for six months and get a 10% discount. Or prepay for a year and get 15% off. Verified nonprofits receive double this discount.
No matter your plan, there’s no commitment so you can cancel anytime with no hidden fees. The company also offers a 30-day money back guarantee if you find the service isn’t for you.
Try Constant Contact for Free Today
We’ve taken an overview of Constant Contact and seen how it can really boost your email marketing. It takes care of every aspect; from campaign creation to crafting the perfect email template, along with sending your email and keeping track of the results, it’s all here.
Whether you want to A/B test subject lines and use lots integrations to better serve tens of thousands of readers or you are a small business who wants to get email marketing out of the way, Constant Contact is a great tool for the job.
Try Constant Contact free for 60 days and see if it’s right for your business.
Read the full article: How to Supercharge Your Email Marketing With Constant Contact


